Thermal inserts for 3d printed parts

So, a project of mine requires me to screw a lid into a 3d printed chasis, and make it secure!

The mnost common thing to do is to just drill and tap into the plastic part to give it the screw thread in which to screw into.

There are several issues, A its weak. drilling into an object with a low infill ratio will mean there is no material around after you have drilled into the first few top layers meaning it only will give 1 thread. Not much!

To overcome this, you can up the fill, or print a hole inwhich to tap, and give it additional perimeters so it makes it solid around the thread. again this is better,but we rely on plastic threads to grip into.

Lets take a look at those examples used in industry. Thermal injection to be precise.

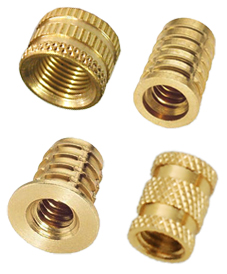
When putting a thread into a plastic part, the best way is to add a brass threaded insert. These are small threaded nuts with a grippy outside which is placed into a mould tool before plastic infection. They remain fitted to the plastic due to the burrs on the outside edge, but give a brass heavy duty thread on the inside.


These are cheap, well about £50 for 100, 50p each is the cheapest through a company, ebay sell 100 for about £13.50?

Brass insert fastener

These are used ofetn for parts, including the plastic/glass fibre arms for my quadcopter.


When it comes to 3D printing, we are unable to print around these inserts, therefore another insertion method is needed.

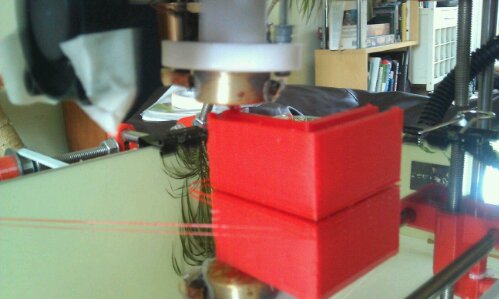
Firstly we need to print a hole for the brass insert to fit into. This gives the surrounding purchasing for the fitting to fit into.

Then we place an insert onto the tip of a soldering iron, so the iron heats the insert.

Then using the iron, push the brass insert into the plastic hole, so the plastic melts around the insert.

Removing the soldering iron allows the insert and plastic to cool, leaving you with a brass insert thermally welded into your plastic part.

I just need to get hold of some thermal inserts!

Check out this video for more info…

http://youtu.be/iGNXHWPFAKo

Hole size recommendations pdf is available here: http://www.axisproto.com/pdf/spec_inserts_EN.pdf

Admesh program to fix broken STL files

I attempted to open the tantillus stl file for top corner front left but sadly it failed in lic3r saying it had no slices or something, and Bill20r3 and teepee on IRC #Reprap explained about Admesh program.

A commad bassed programme, it fixes / translates rotates etc stl files.

to download:
bill20r3> admesh seems to have fixed it just fine, fwiw.
admesh?
admesh is an open source program for repairing, translating and processing STL meshes. It’s very fast and almost as old as 3D printing. https://sites.google.com/a/varlog.com/www/admesh-htm

if this is down due to server issues go to:
http://ftp.de.debian.org/debian/pool/main/a/admesh/
and download
admesh_0.95.orig.tar.gz 12-Oct-1998 20:52 50K file.

Roboteernat: bottom of the page https://sites.google.com/a/varlog.com/www/admesh-htm – the small arrow pointing down

download the file and save to desktop.

open command prompt window and change directory to point to admesh folder

save the broken stl file needed t be fixed ithin the admesh folder and confirm it id there by using cmd window and typing 'dir' to list the files in the directory

Once it is there, we can fx it.

Type

admesh --write-binary-stl=file_admesh.stl file.stl

where file_admesh.stl is the file output name
and file.stl is the name of the file to be fixed

Here is an example print screened for the future 🙂

the file ‘Corner_top_front_left(1).stl has been fixed and saved as Top_corner.stl in the admesh folder.

All slicing fine now 😀

Retraction settings

After a while my retractions settings were not looking great. looking at slic3r a bi more closely, i realised the settings for retraction speed was in mm/s not mm/min, therefore the setting of 30 was causing the stepper to screetch!
i reduced this down to 4mm/s and 4mm retraction which was painfully slow, so a quick q on REPREP IRC channel brought Dreamscape74 suggesting their settings.

Now retraction is set at 14mm/s and 2mm retraction length.

Now onto the brige test…