
Category Archives: Uncategorized
european tour
bernina express
http://www.seat61.com/BerninaExpress.htm#buy_tickets
trip idea
Tour around Europe
Cambam tools listing

Listing of metric tools listed on PC to compare to that on my CNC PC.
Custom Cad designs for gears
Found this great website which you can use to generate CAD files for gears of your specification.
http://www.rushgears.com/tech-tools/part-search#
Great little resource should you be designing something with gears from supplier and you want to generate a solidworks part file of for use in assemblies!
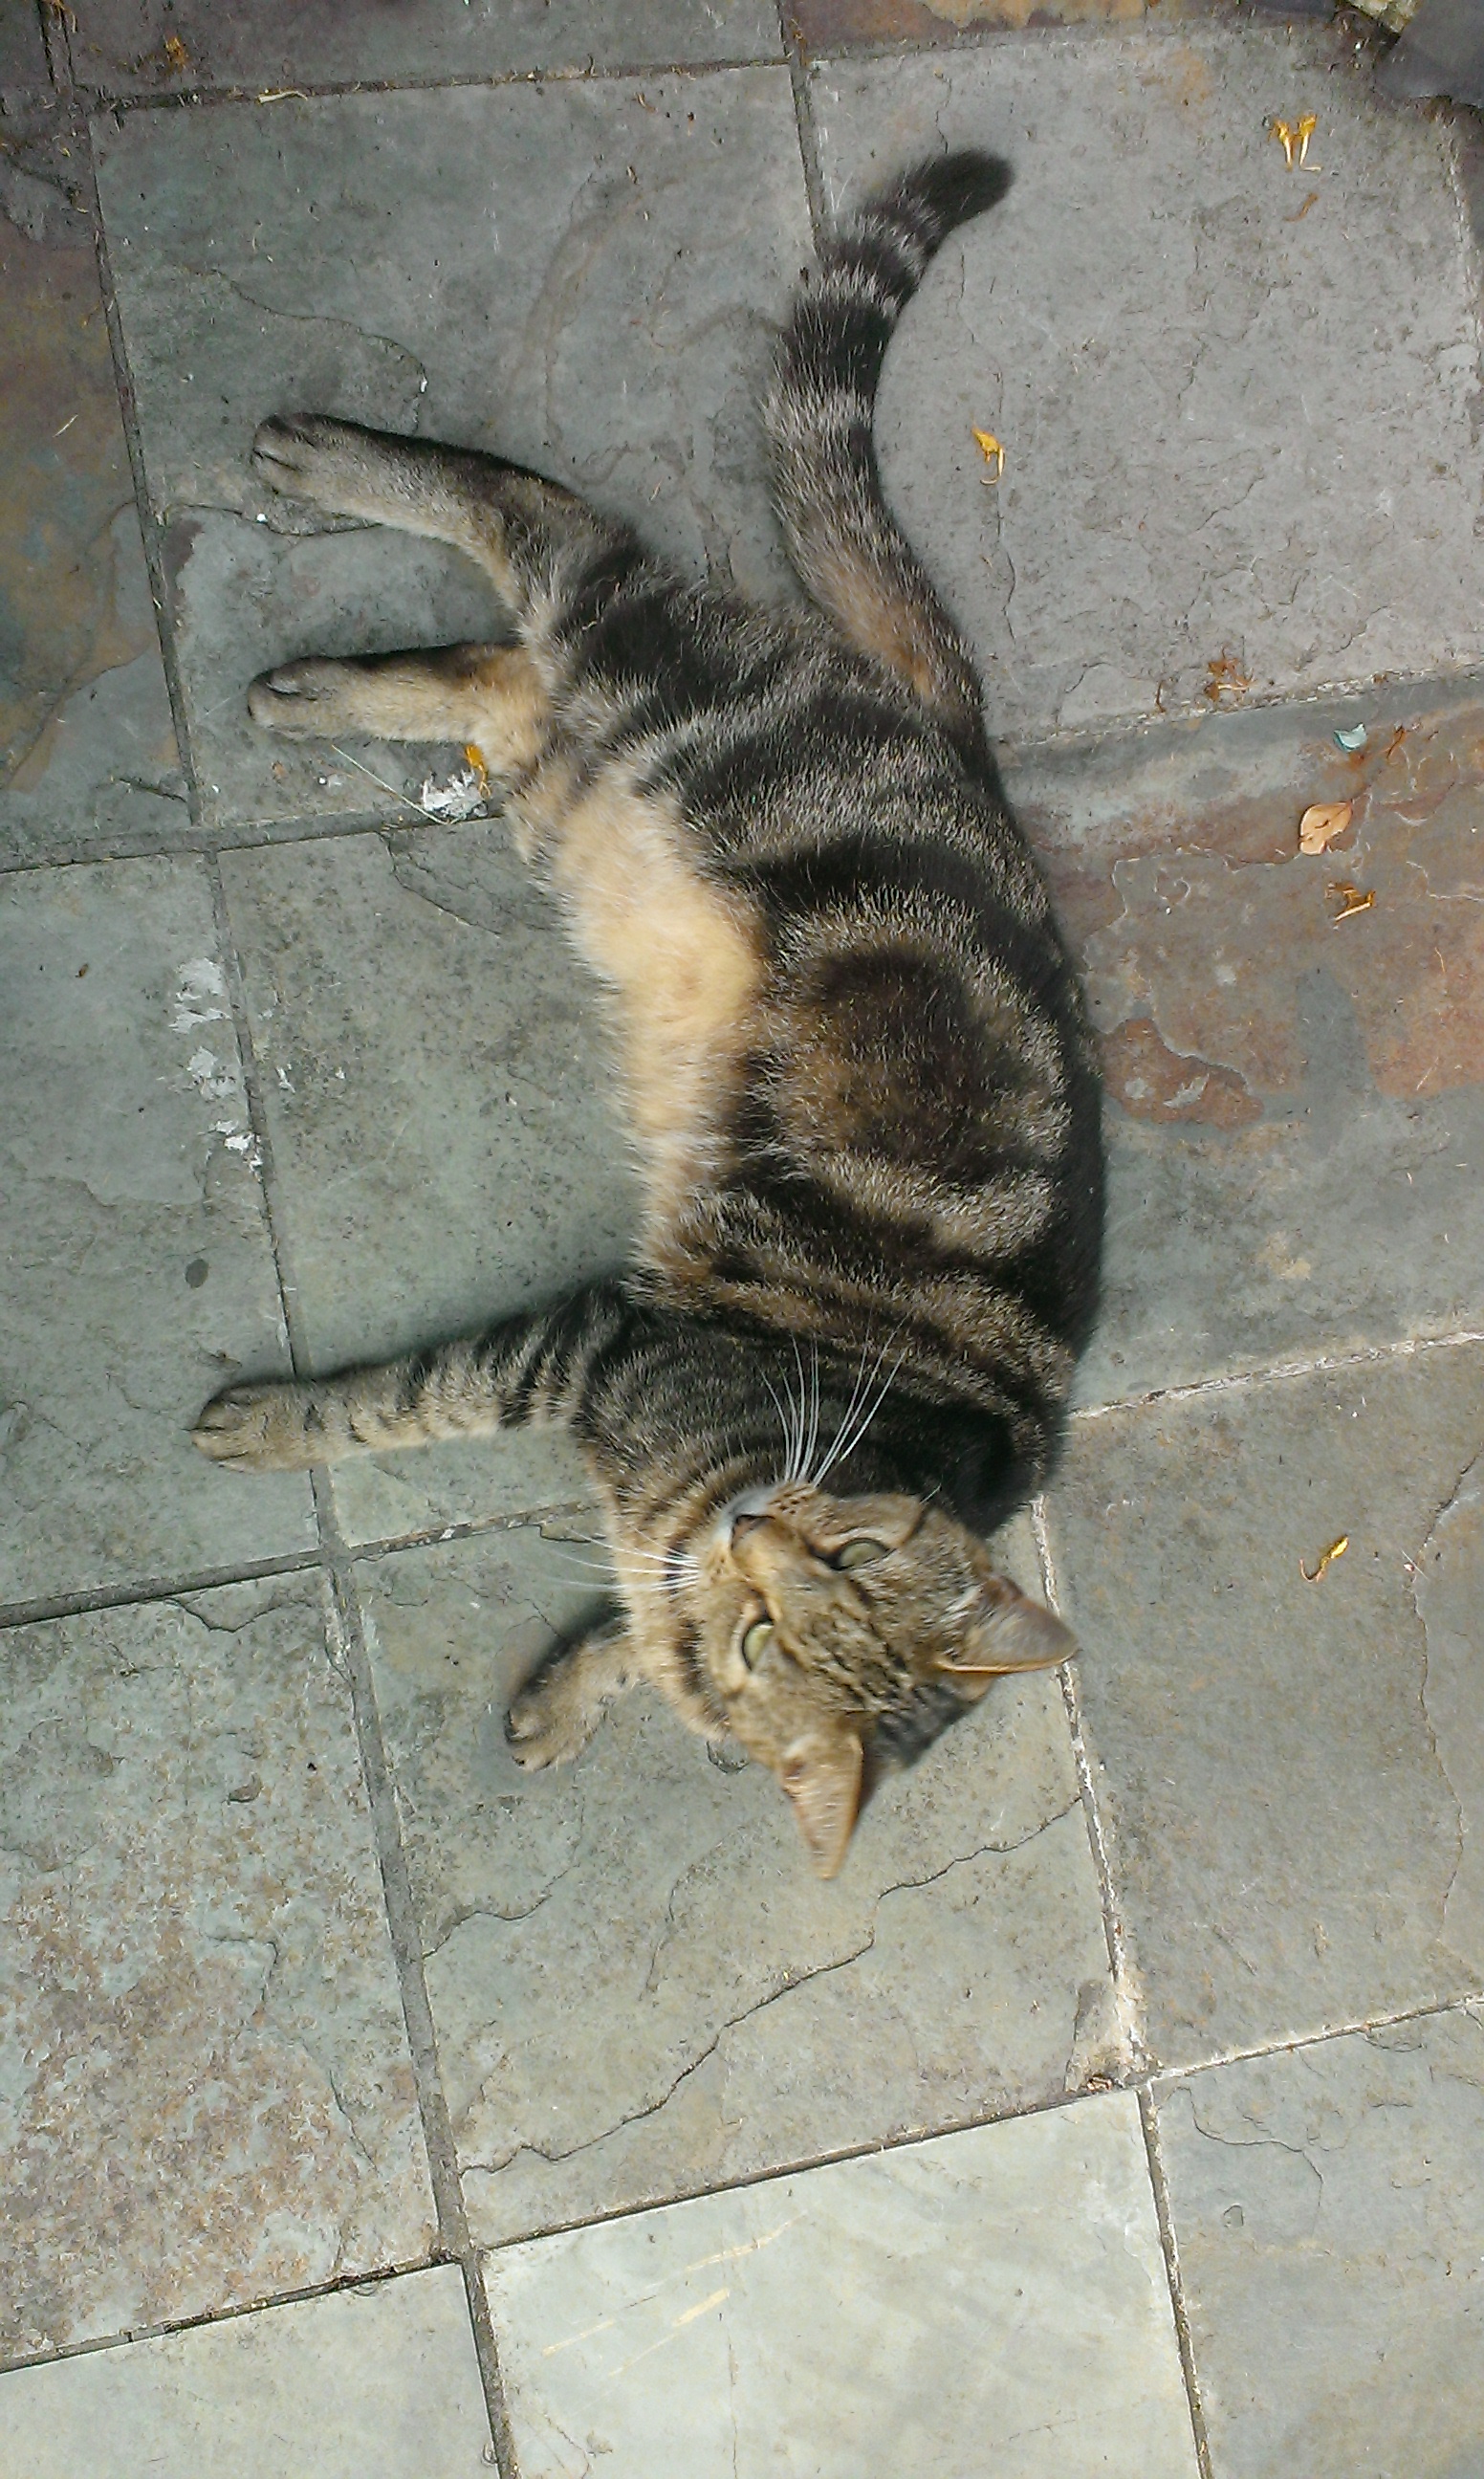
LOKI – FOUND!!!!!! returned safe and sound to his home
Missing cat – please help
Thats right, Loki has been missing for 2 months to the day but has returned to the house. He was found in the kitchen meowing his head off pleased to be back!
Thank you for any assistance you have given over the past 2 months. I will be comming round with slips again to say he has been found, and that we can all ‘stand down’ from watch, until another cat goes missing.
Lost posters will be comming down this evening which have been placed around chippenham, and slips will be distributed to the 350 houses i delivered to.
Again,
Thank you
Hello, I have been placing 24 posters up around Chippenham between frogwell and charter road and posted about 300 slips along the route also including along chamberlain road and side roads around those areas.
Its been a month now since Loki was last seen. Someone knows something or has seen Loki. Please let us know.
i have been contacted by quite a few people saying they have seen a cat potentially Loki, and these are the areas I’m walking around at 9 – 11pm each night and slightly further afield. Do you or a friend or neighbour know a cat that has started to visit them for food? Or a new cat unknown to your area? Please take a look, see if it matches Loki descriptions, and contact me please. If you have seen a cat by the side of a road, please please please let me know, and the authorities, so they can also help reunite it to their worried owners.
please help me find my cat. Details below.
thank you
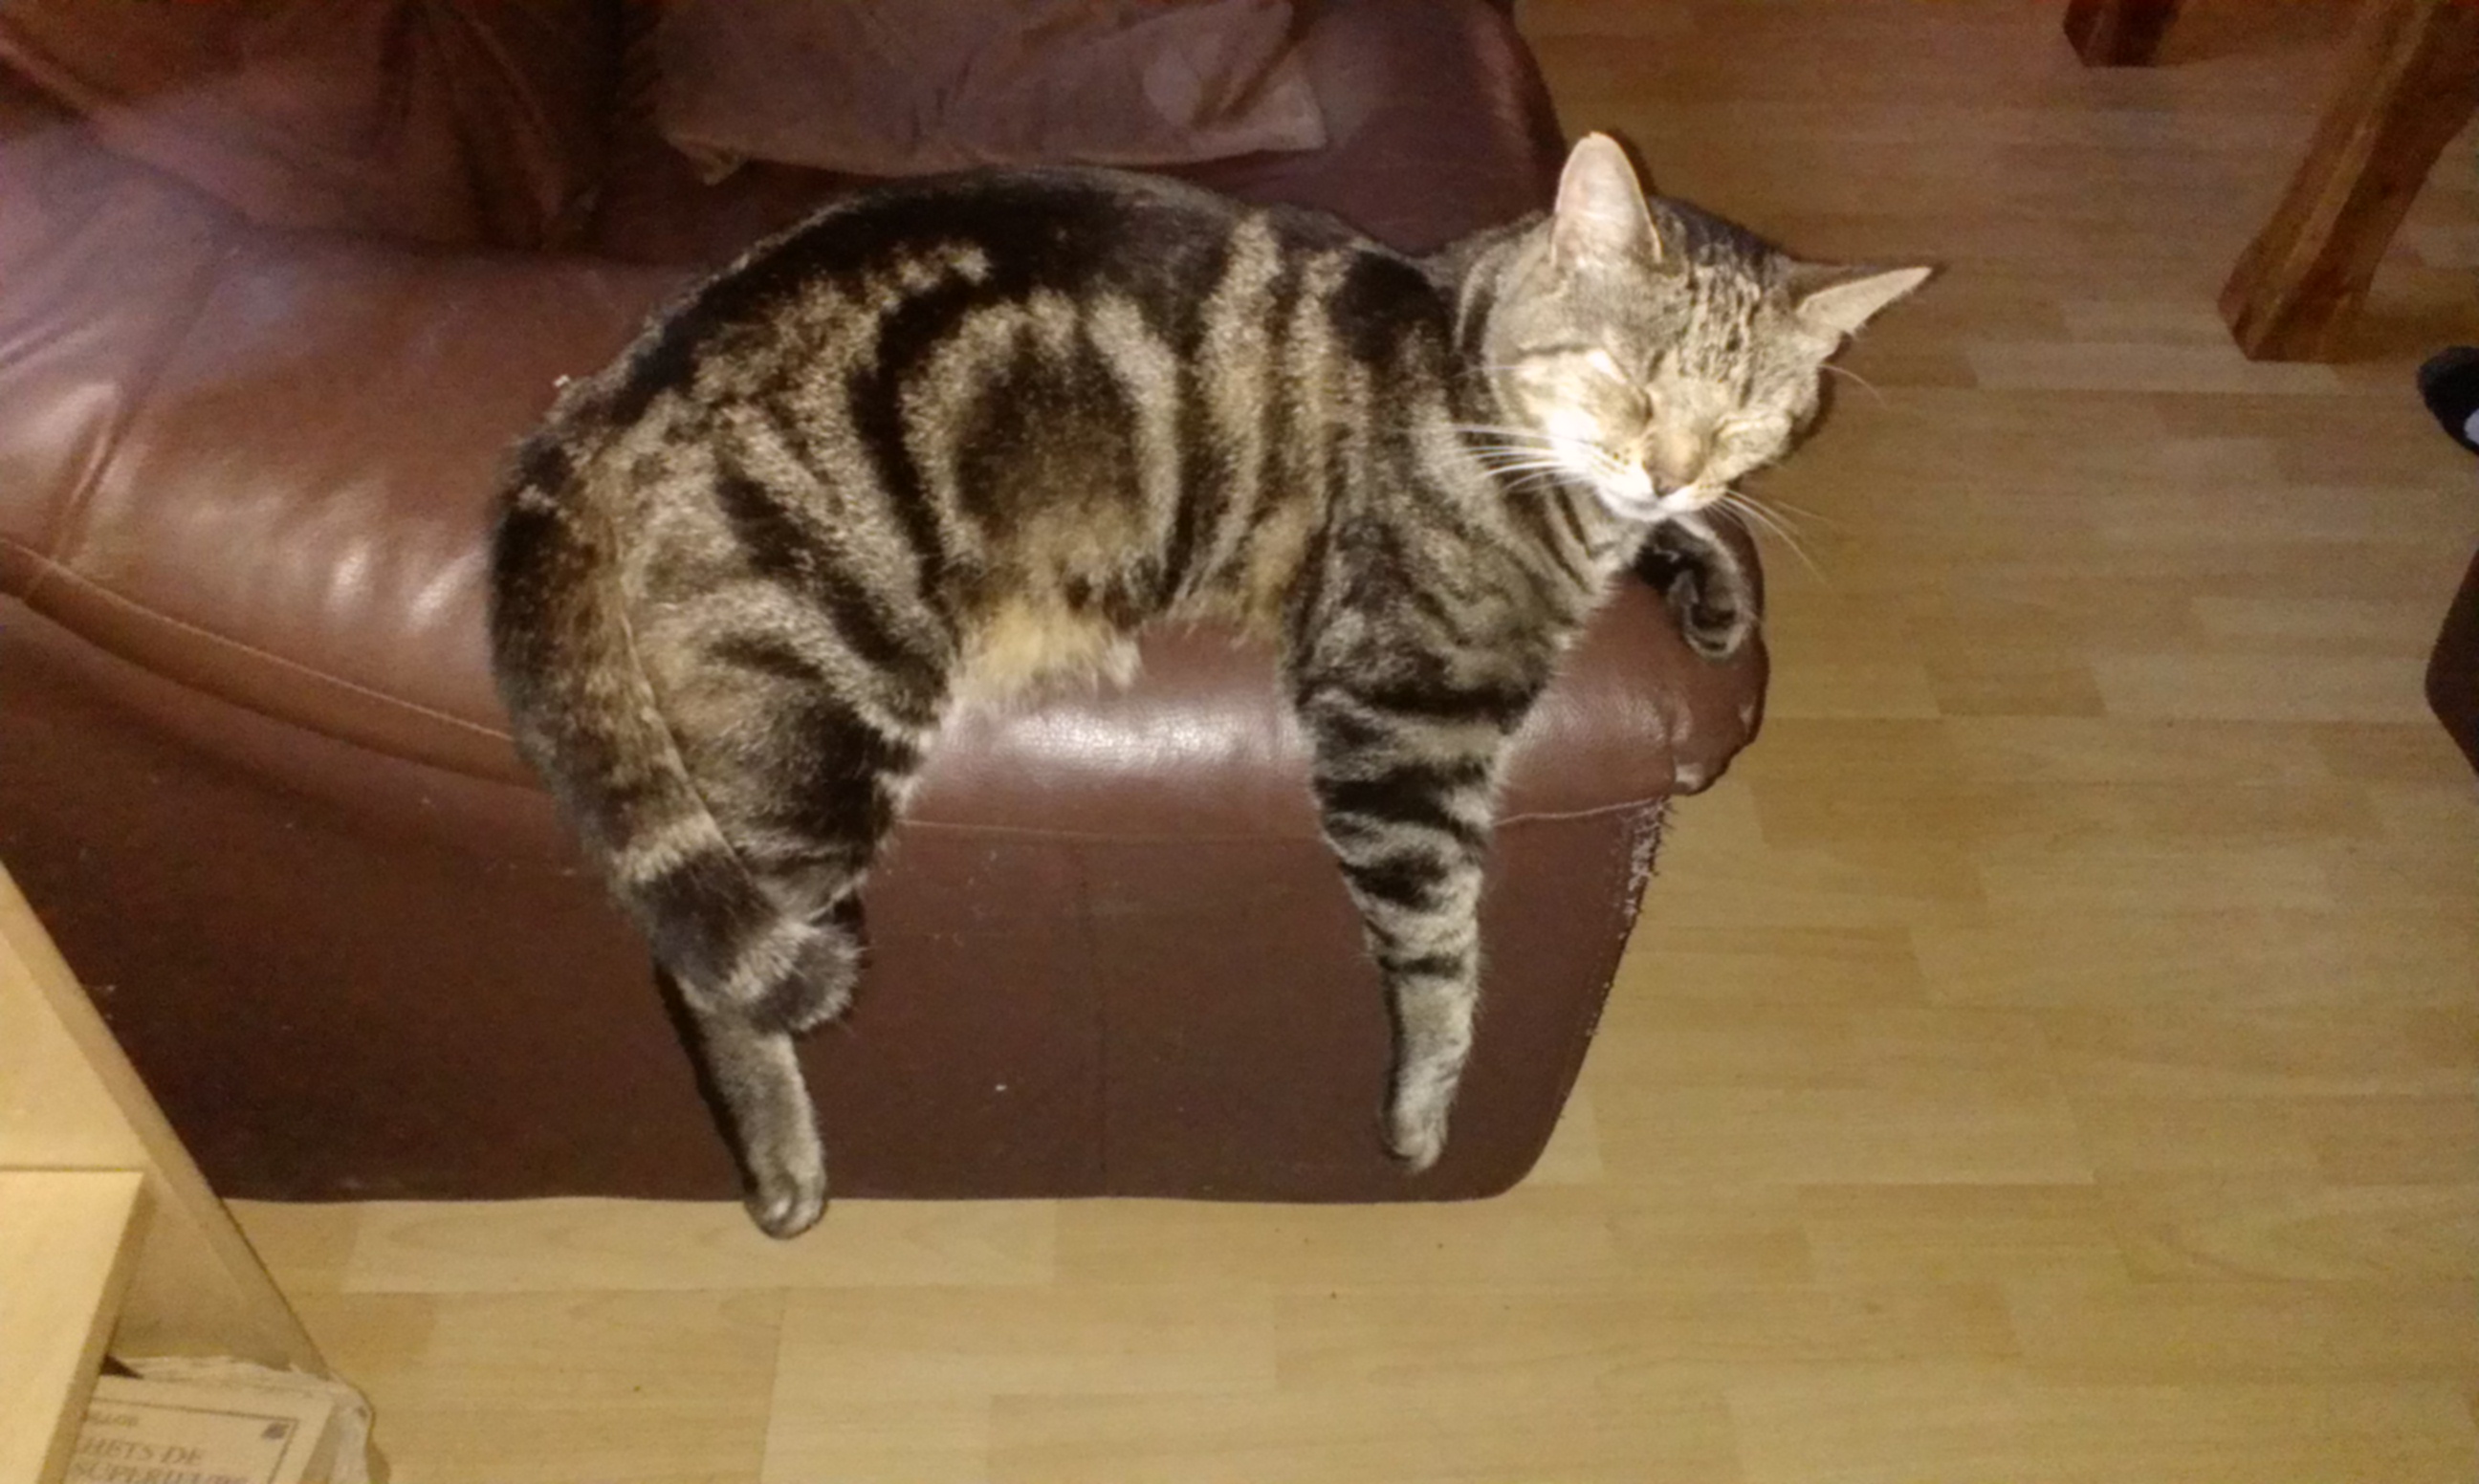
Tabby cat called Loki
Last seen Wednesday 20th August by cat sitter
Please check shed and garages as he would have snuck in if it was raining and it was open.
He lives in Phillips Close, SN14 0TH
He moved from 92 Charter Road SN15 2RB on 7/7/14
He is microchipped and not wearing his collar (found this in garden).
If you have any information or seen him about, please contact us.
Phillips Close.
Thank you.
Nathaniel Poate
3D printing at work DLP style
So, been working on setting up some 3D DLP printers at work which were used to print mouths for Pirates!, and discussing with suppliers of the machines abd another company, I have now located licences and software to run them.
Software is Perfactory RP 2.9 by EnvisionTec, suppliers of the Perfactory DDP printers.
Magics 13 by Materialise.
So after running and setting up the machines I got one connected and printing z test part.
I have not calibrated it, and I’m using out of date (by 1.5/2 years) so we will try and see what happens…

Finished 4mm print, stopped due to end of work hour’s


Posted from WordPress for Android
Thermal inserts for 3d printed parts
So, a project of mine requires me to screw a lid into a 3d printed chasis, and make it secure!
The mnost common thing to do is to just drill and tap into the plastic part to give it the screw thread in which to screw into.
There are several issues, A its weak. drilling into an object with a low infill ratio will mean there is no material around after you have drilled into the first few top layers meaning it only will give 1 thread. Not much!
To overcome this, you can up the fill, or print a hole inwhich to tap, and give it additional perimeters so it makes it solid around the thread. again this is better,but we rely on plastic threads to grip into.
Lets take a look at those examples used in industry. Thermal injection to be precise.
When putting a thread into a plastic part, the best way is to add a brass threaded insert. These are small threaded nuts with a grippy outside which is placed into a mould tool before plastic infection. They remain fitted to the plastic due to the burrs on the outside edge, but give a brass heavy duty thread on the inside.
These are cheap, well about £50 for 100, 50p each is the cheapest through a company, ebay sell 100 for about £13.50?
These are used ofetn for parts, including the plastic/glass fibre arms for my quadcopter.
When it comes to 3D printing, we are unable to print around these inserts, therefore another insertion method is needed.
Firstly we need to print a hole for the brass insert to fit into. This gives the surrounding purchasing for the fitting to fit into.
Then we place an insert onto the tip of a soldering iron, so the iron heats the insert.
Then using the iron, push the brass insert into the plastic hole, so the plastic melts around the insert.
Removing the soldering iron allows the insert and plastic to cool, leaving you with a brass insert thermally welded into your plastic part.
I just need to get hold of some thermal inserts!
Check out this video for more info…
Hole size recommendations pdf is available here: http://www.axisproto.com/pdf/spec_inserts_EN.pdf